Archives: Gmedia Albums


The Enigmas
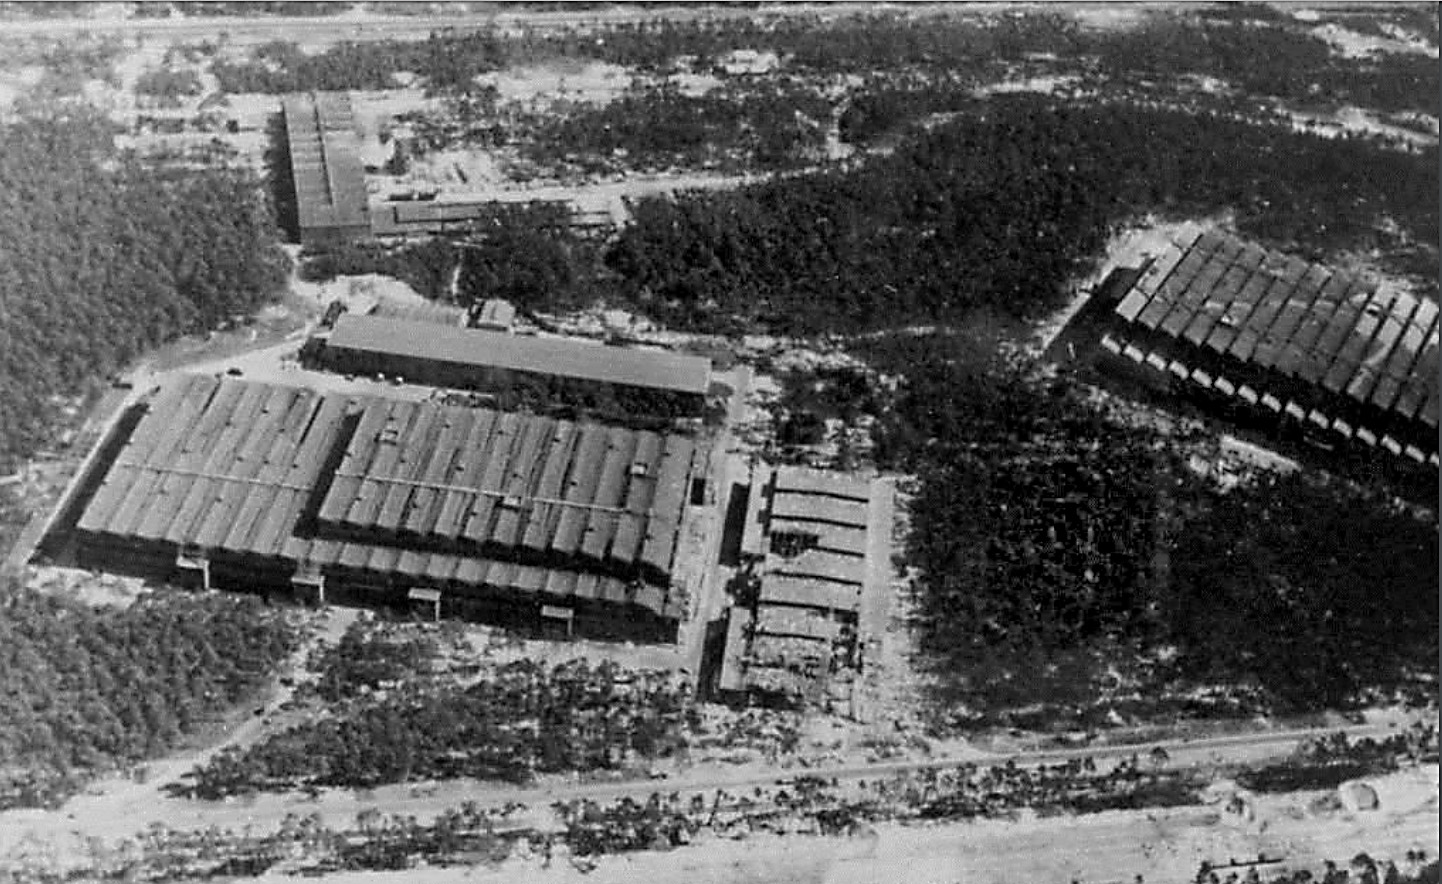
Photo showing Werk Süd with IW on the left and F1 on the right taken on 19th August 1943. The photo shows only light damage to the main halls, although F1 was actually hit at least 11 times, and hits to the separate single storey workshops to the right of the IW hall. The long storage (oil and paint?) shed above IW and the woodworking shop at the top of the picture appear undamaged. Anti-aircraft platforms (at least 3) can be seen on the roof of IW but that seem to be empty of guns. F1 shows two AAA platforms (there was at least 3 at this stage and maybe more) and they may have guns installed. General W. Dornberger mentions defensive AA artillery fire from the from the roof of F1 in his 1952 book V2 (1954 in English).
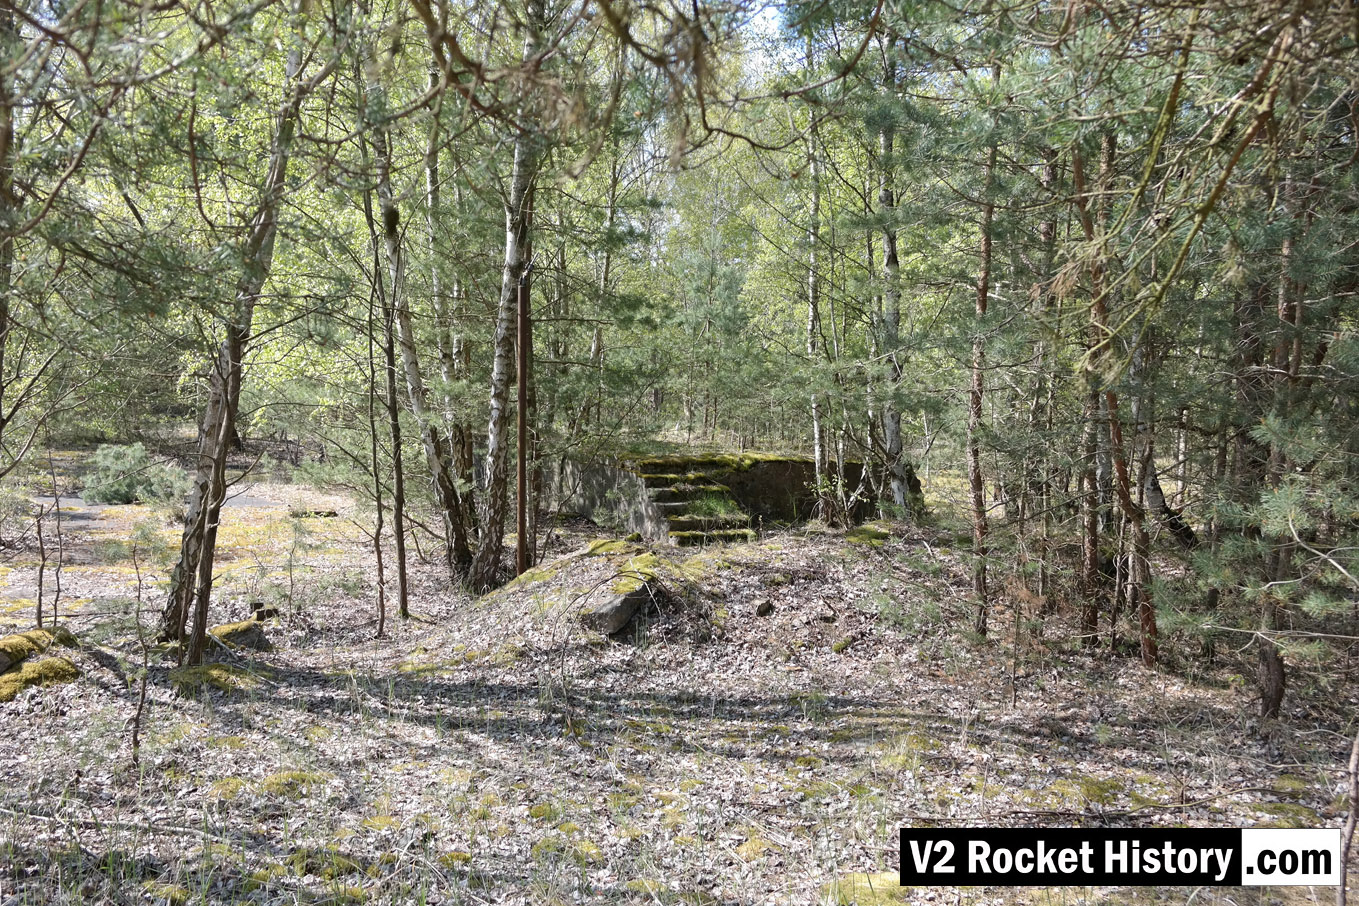
The remains of the a rail and truck loading stage located in the long oil storage shed adjacent to the IW repair and maintenance hall (IW R&MH) are substantial and have intact steadying chains along the south edge of the platform. There are access steps to the west and east ends (east shown). This loading stage was originally furnished with a wooden platform.
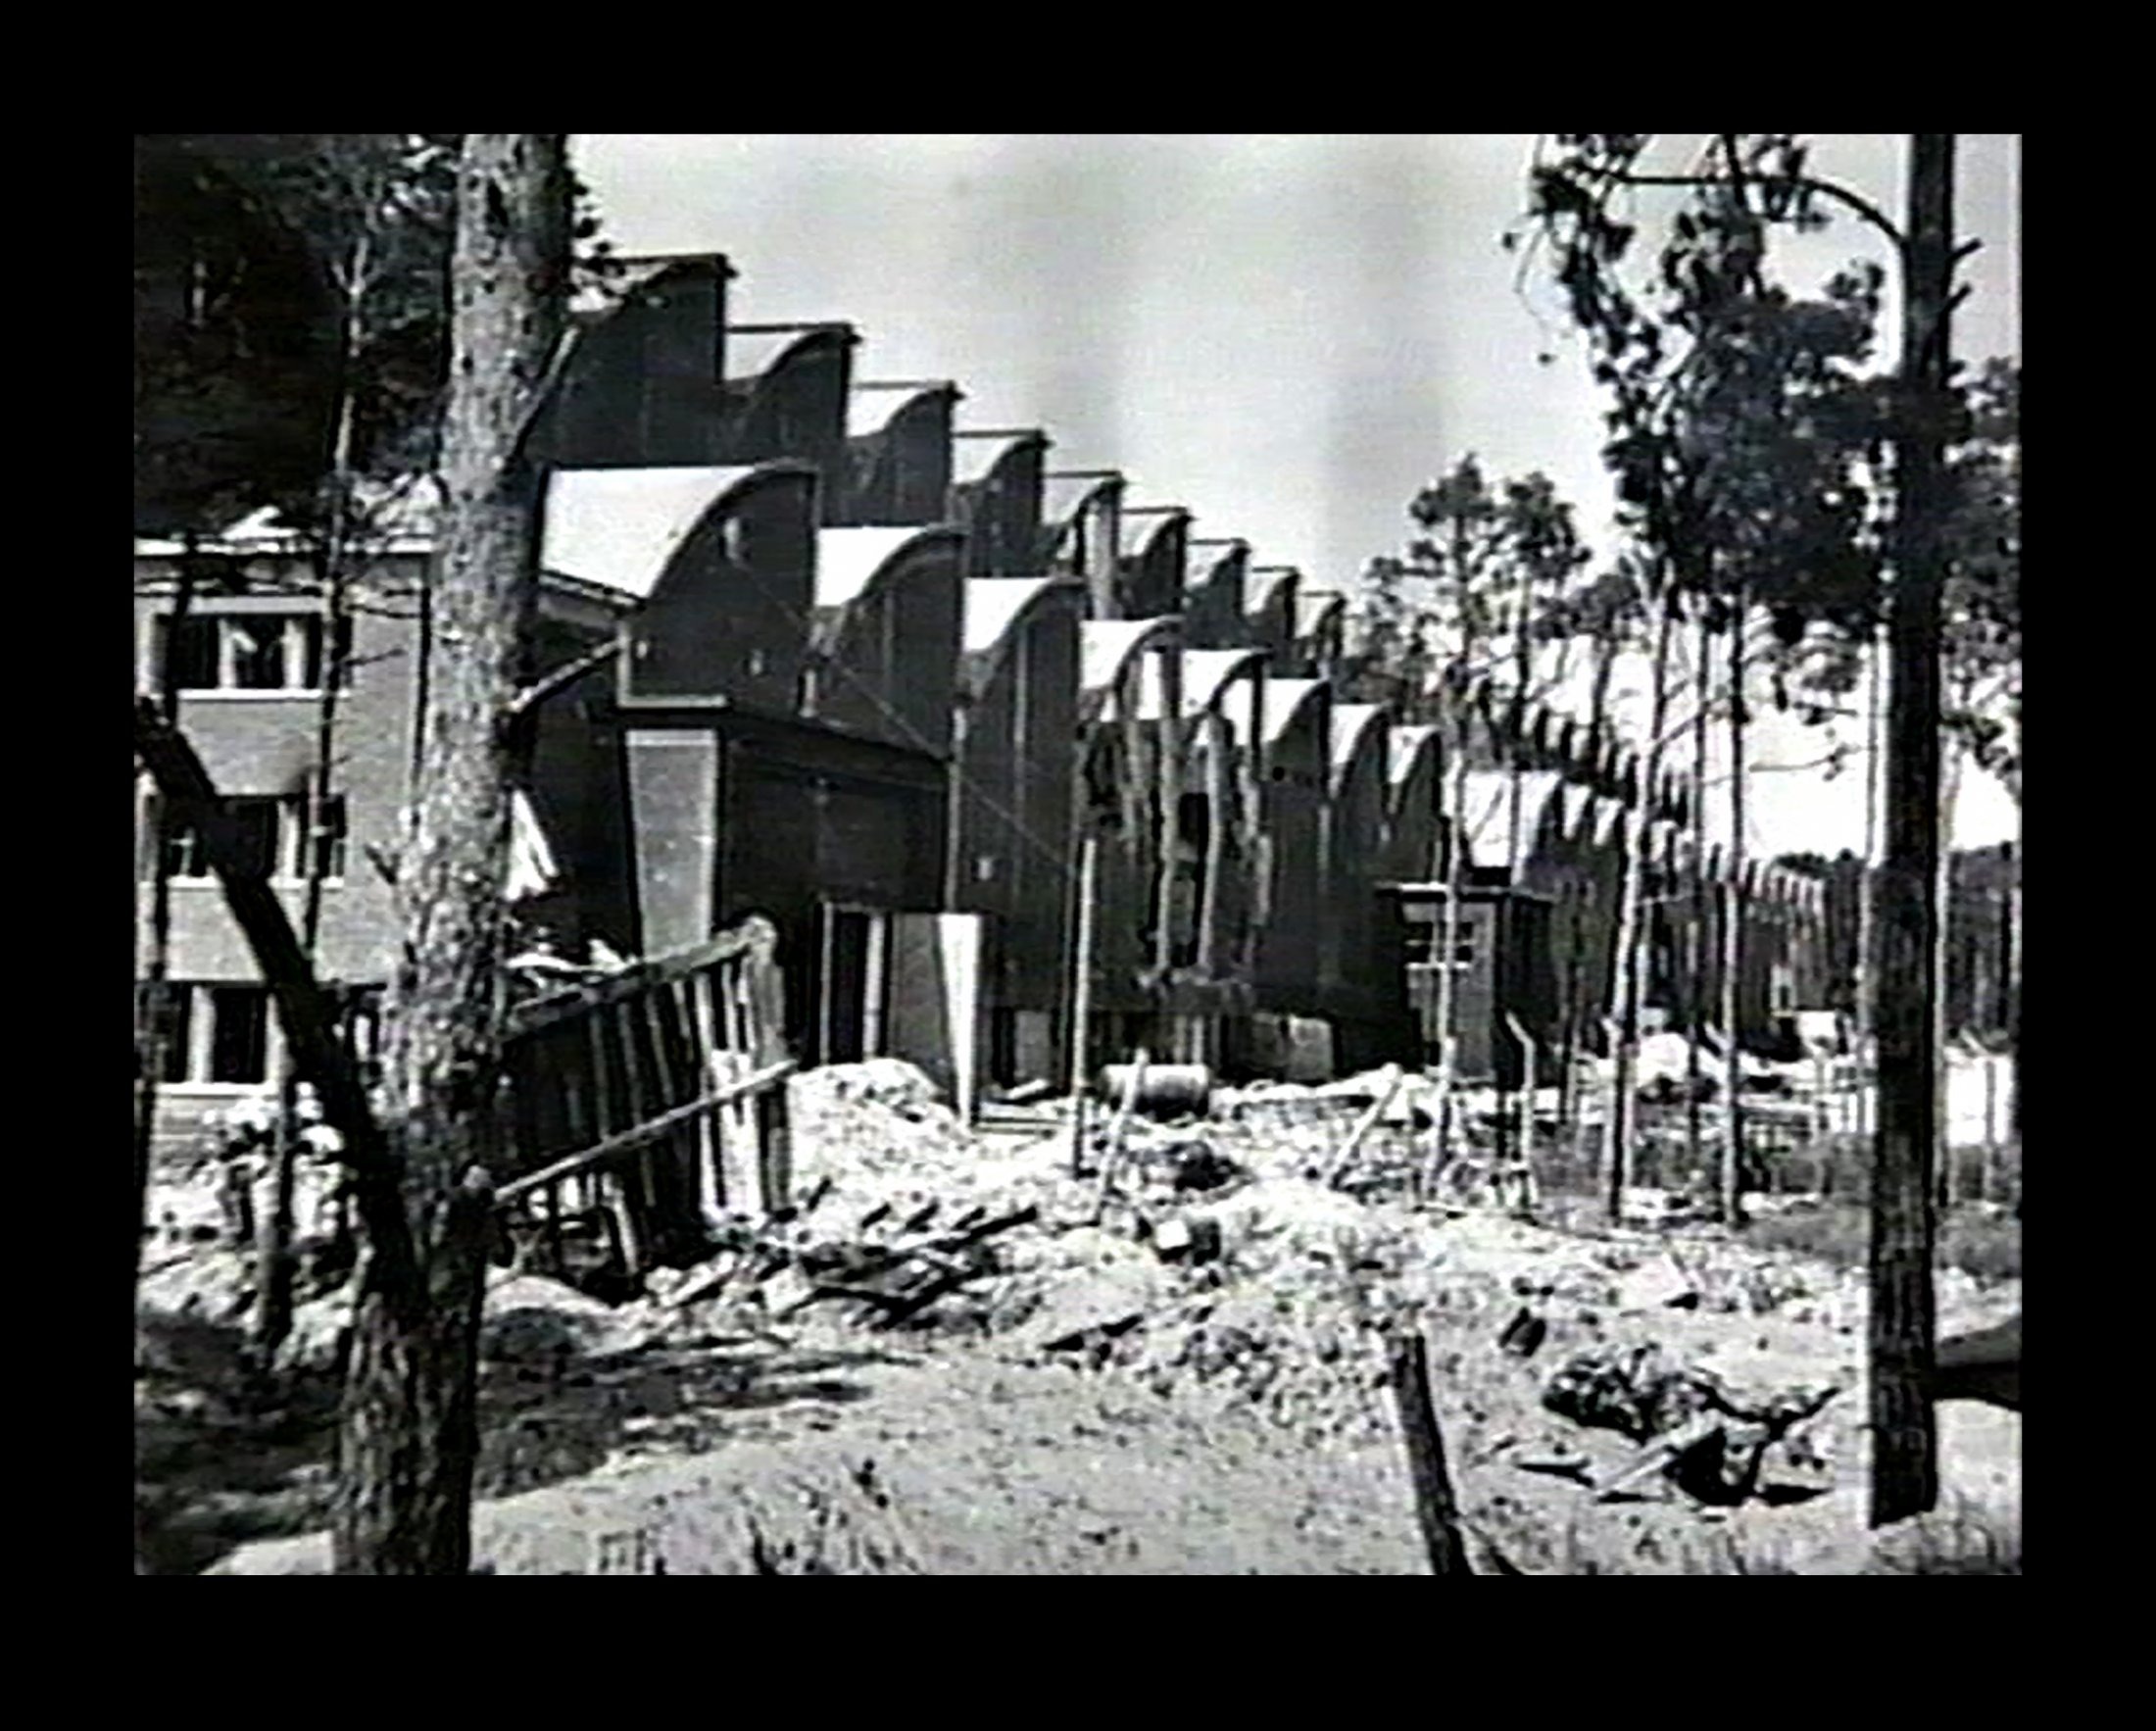
Bomb damaged F1 factory 1945. The huge V2 rocket factory shown badly damaged by air attack at the end of the war in May 1945
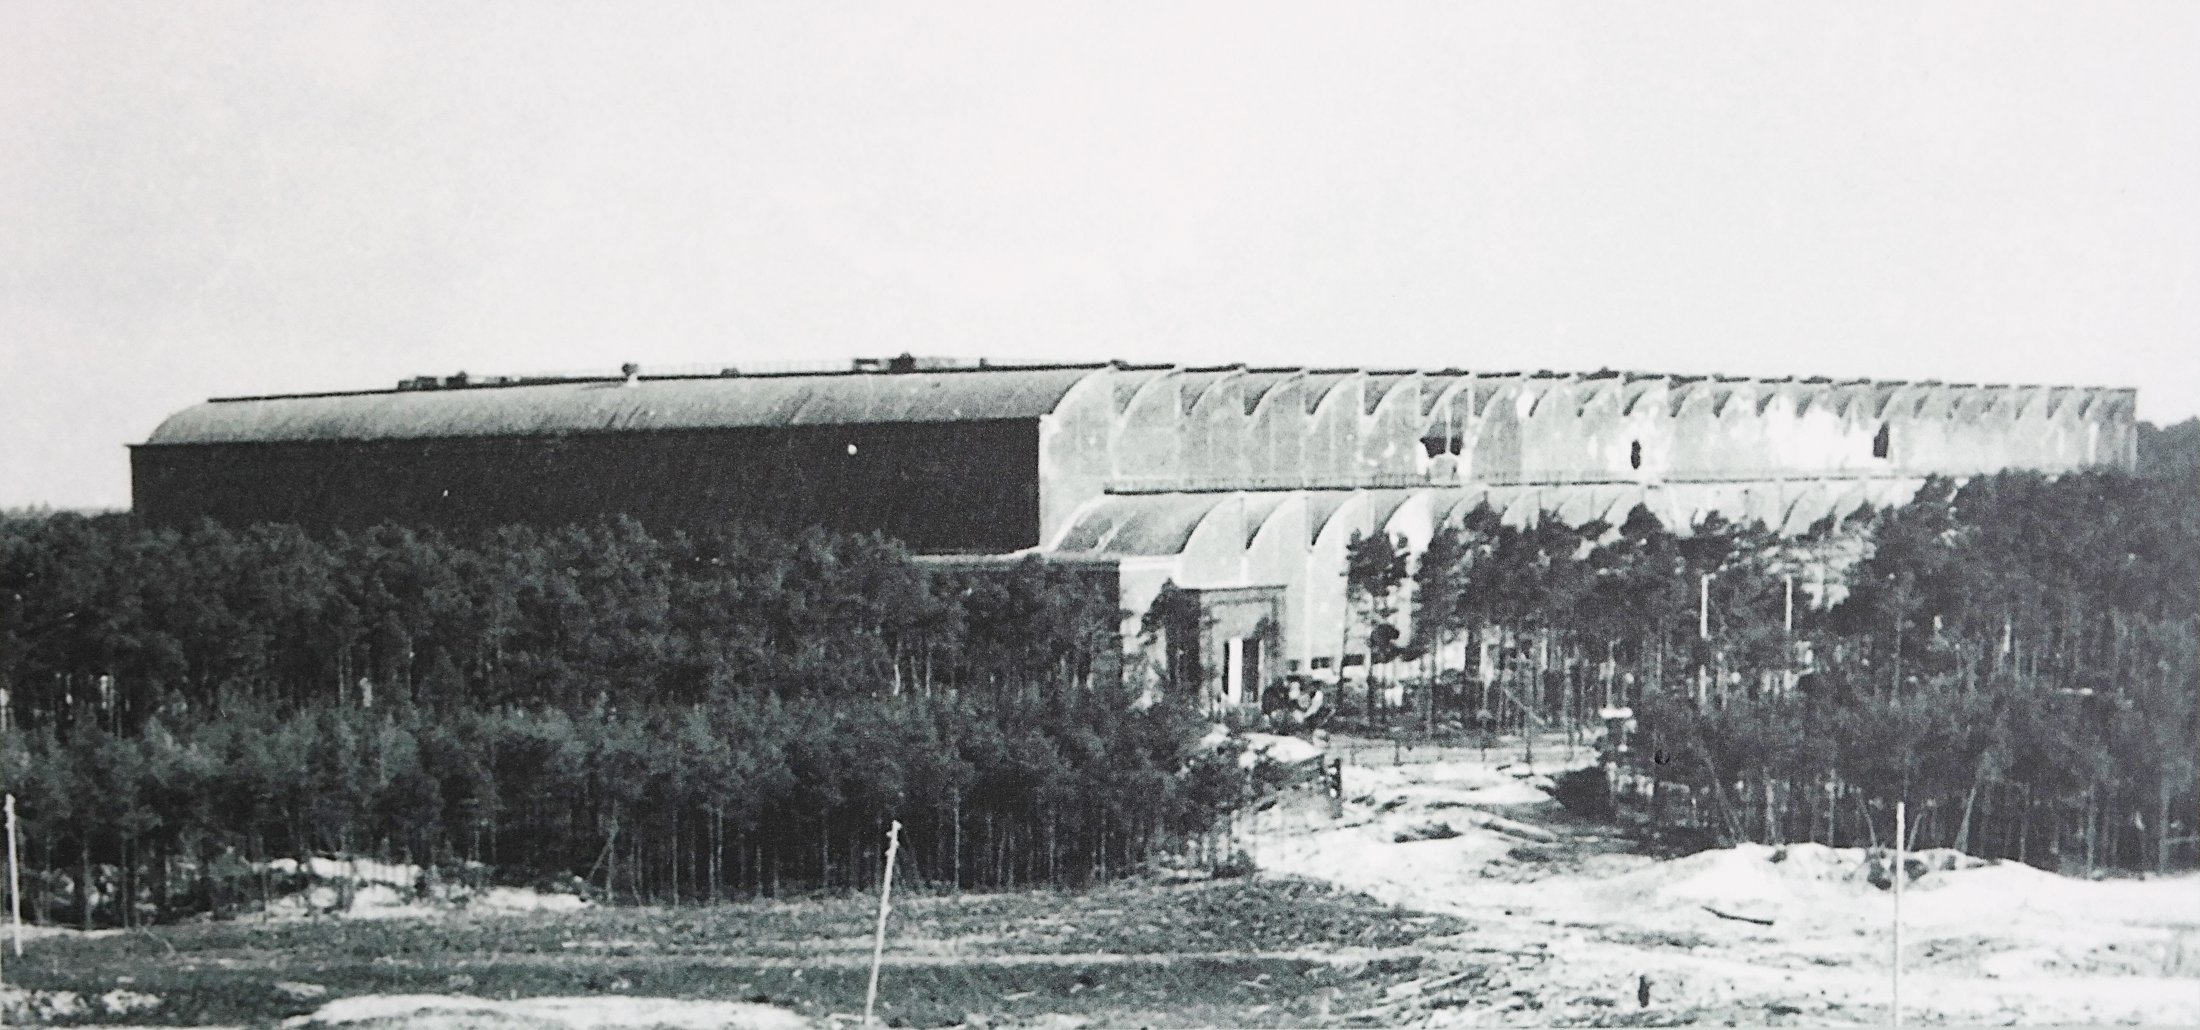
A rare photo of the giant F1 production hall taken not long after the RAF raid of 17/18th August 1943. F1 was a forced labour camp with at least 600 prisoners living within the factory and at least eleven were killed in the raid. Parts of the electrified barbed wire fence can be seen close to the factory building, in the clearing in the middle of the photo. Two anti aircraft gun emplacements can be seen on the roof at the front of the building. Holes in the side walls of the upper vaults can be seen as well as the damage to lower vaults 9 and 10 (counting from left) from a direct hit in this region. Also of note are the numerous guy ropes, attached to the upper roof of the front of the building – and running down towards the trees, that are just visible in the photo. These may be supports for camouflage netting that was in the process of being fitted (by prisoner gangs) just before the raid. The work was never completed.
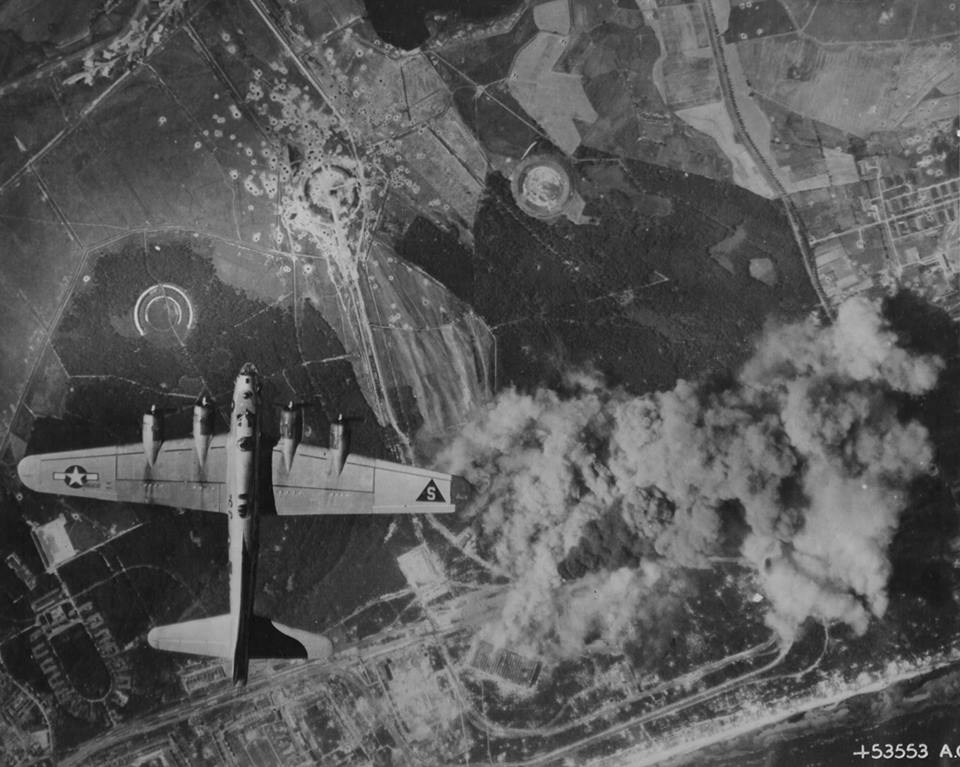
Peenemünde: Werk Sud attacked by US bombers August 1944 in a daring daylight raid. The two large halls F1 and IW in the lower middle of the photo are under direct attack and smoke can be seen originating from both buildings. Although the August 1944 raids did little to interrupt the volume manufacture of the V2, as virtually all manufacturing and assembly of the missile had moved to central Germany, the raids did bring to an almost complete halt the last small amount of manufacturing work still competed in the giant halls of Werk Sud.

F1: Fertigungshalle Eins

Equipment bays
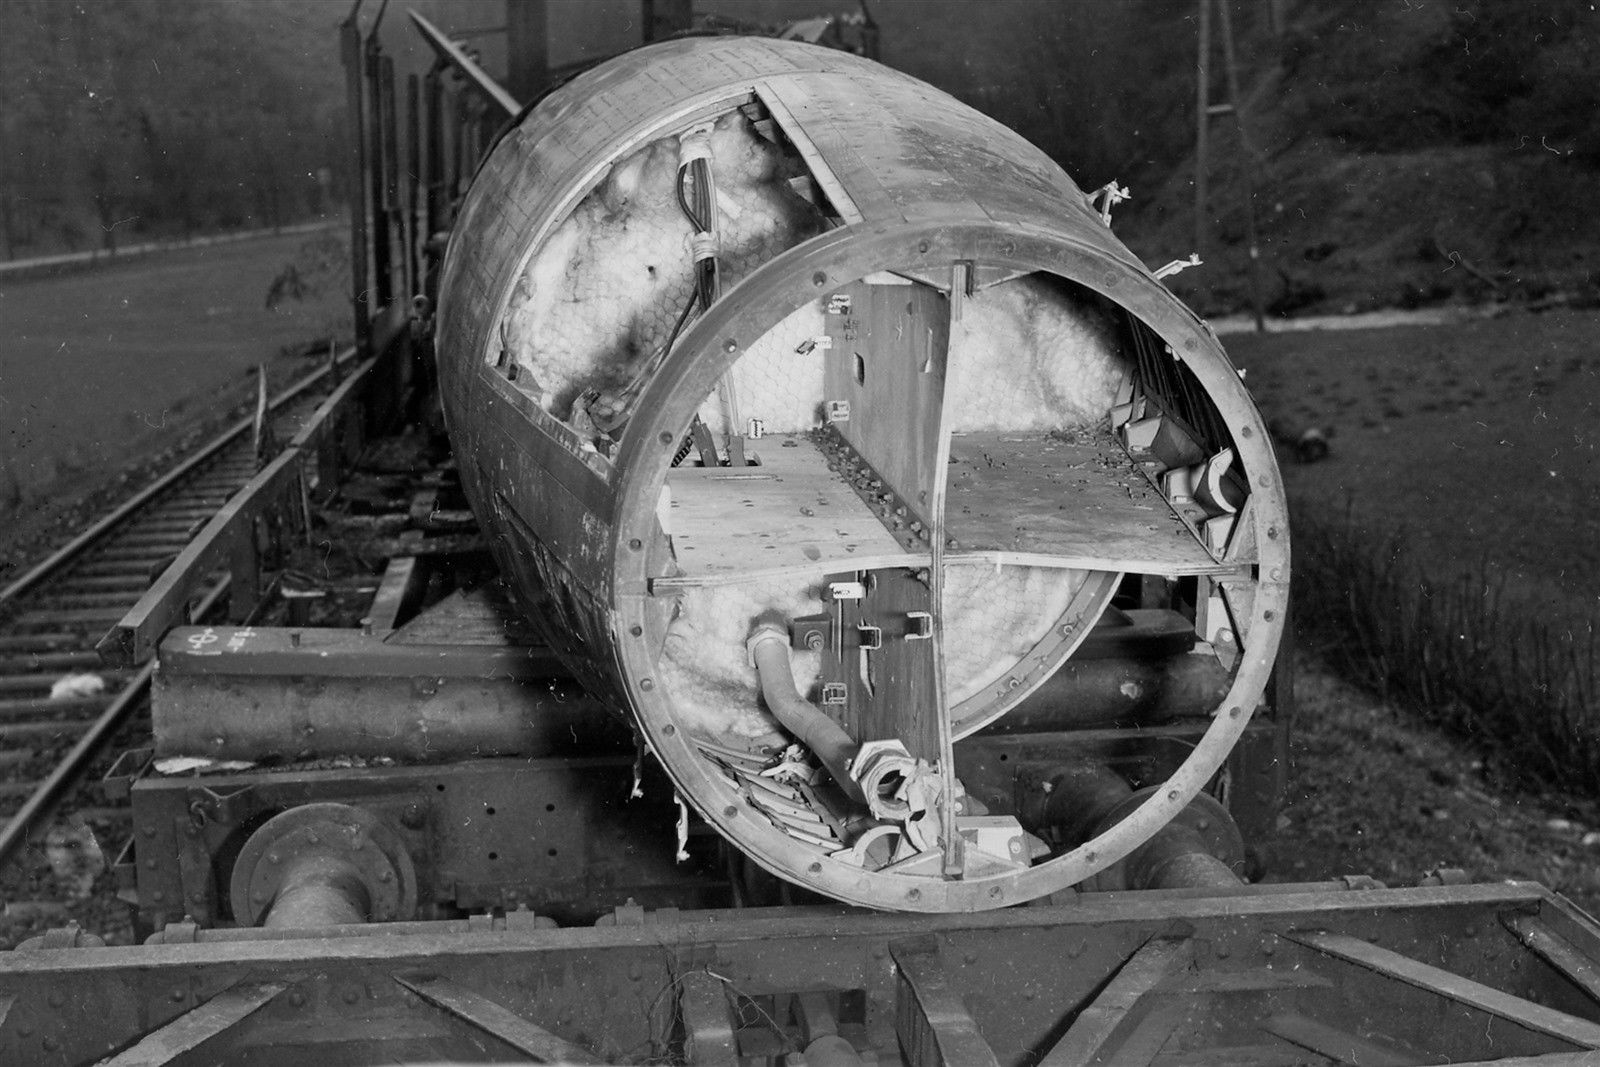
Incomplete V2 missile on rail transporter. All 4 control compartments are well shown. The fuel tank connection pipe can be seen but not much else. All of the control equipment has been removed. Plainly visible is the chicken wire holding the fiber wool tank insulation in place. Today this would be called ‘Galvanised hexagonal network restraining matrix, and be supplied by a blue chip Aerospace company for $800 per square inch. In the 1940s, it was just chicken wire at a 2 dollars for a 100 ft roll.
| Album | Equipment bays |
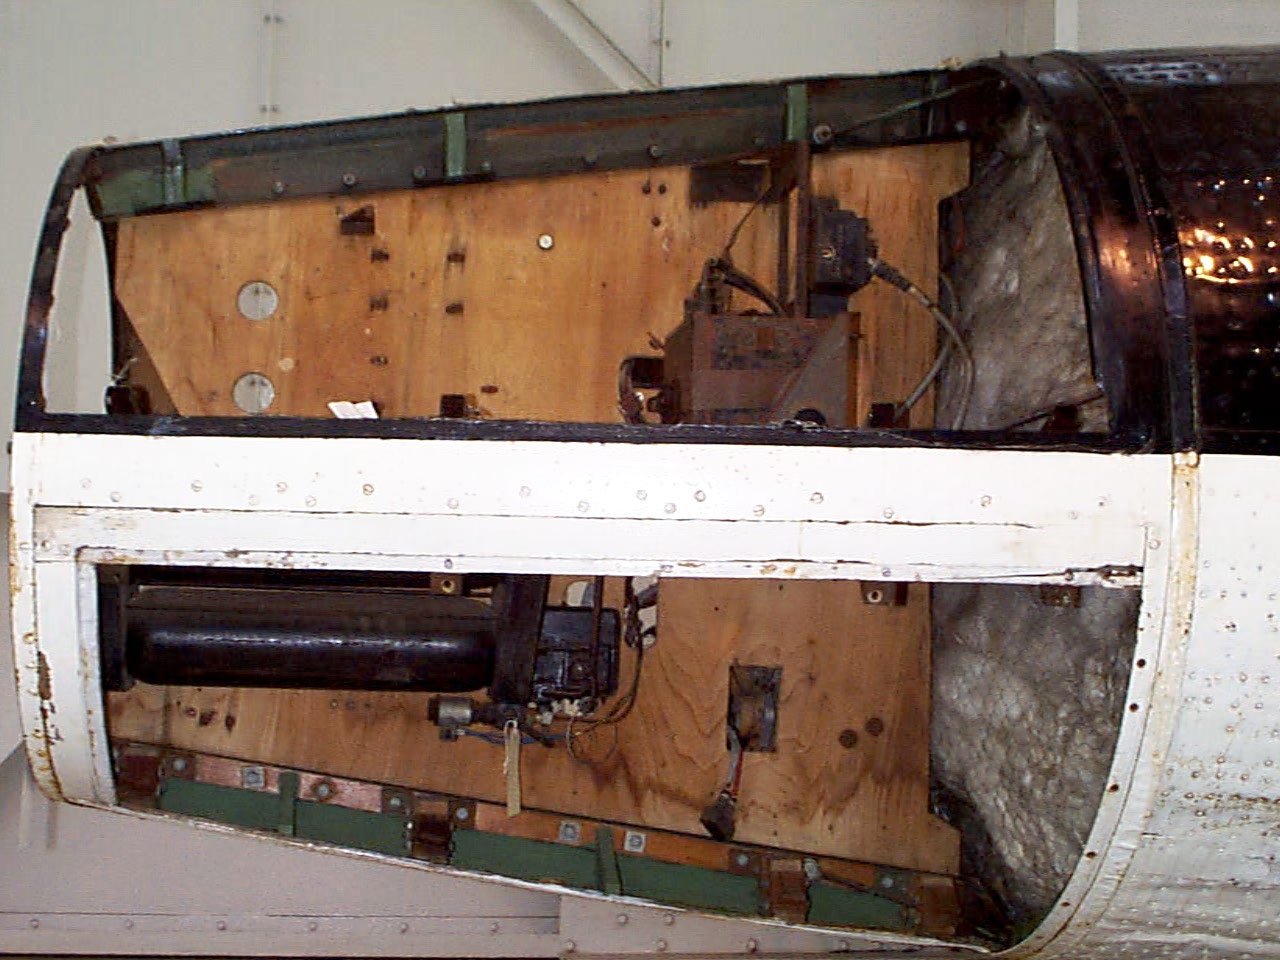
Control compartments 1 (upper) & 4 (lower) Image copyright Imperial War Museum
| Album | Equipment bays |
| Category | Missile guidence |
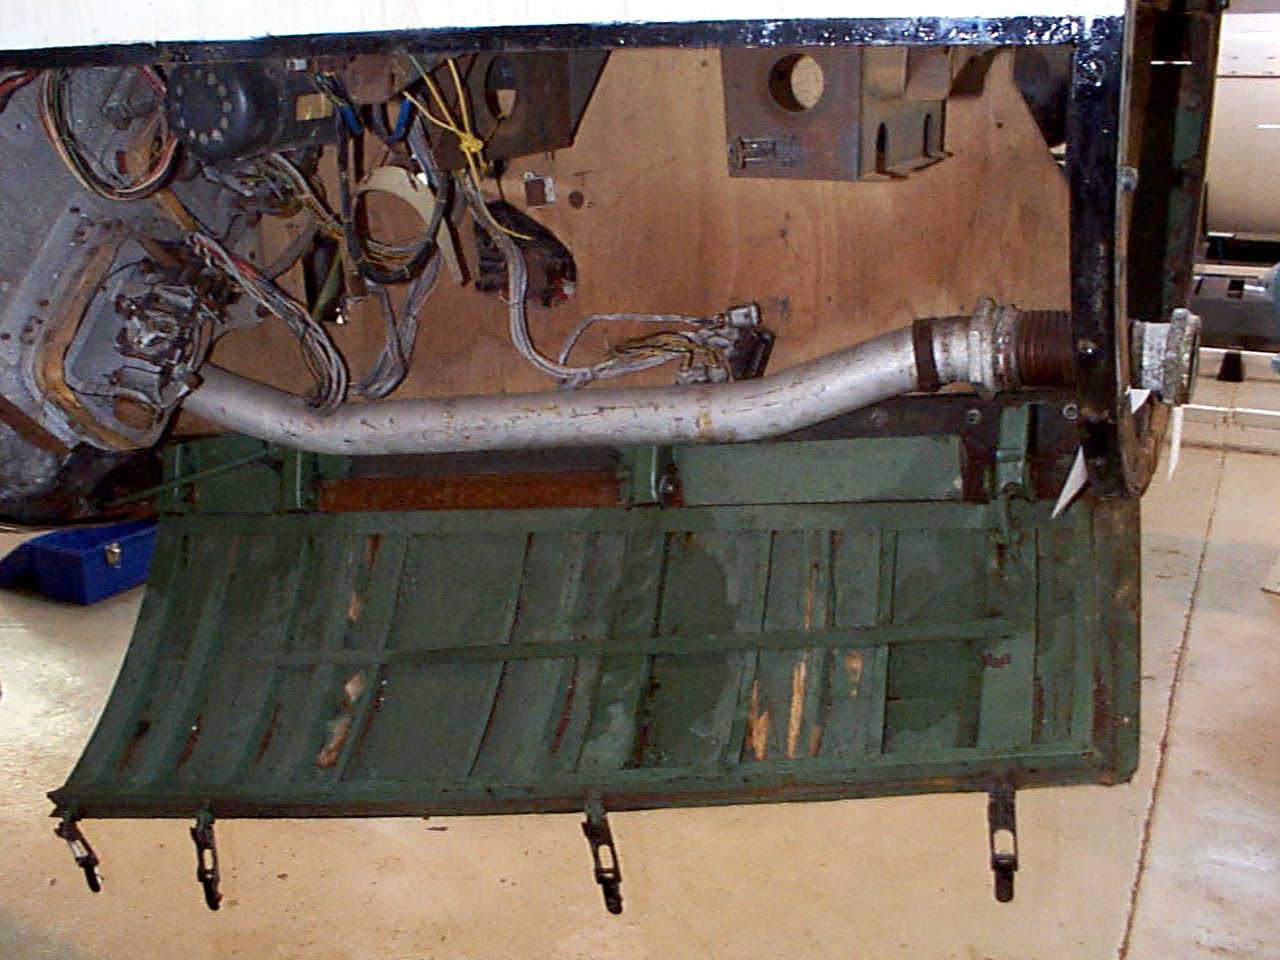
Control compartments 3 showing gyro mounting platform with two gyros and DC motor driven 3 phase AC voltage generator. The alcohol tank pressurisation pipe is also shown running through the equipment bay (large silver coloured pipe). Image copyright Imperial War Museum
| Album | Equipment bays |
| Category | Guidence |
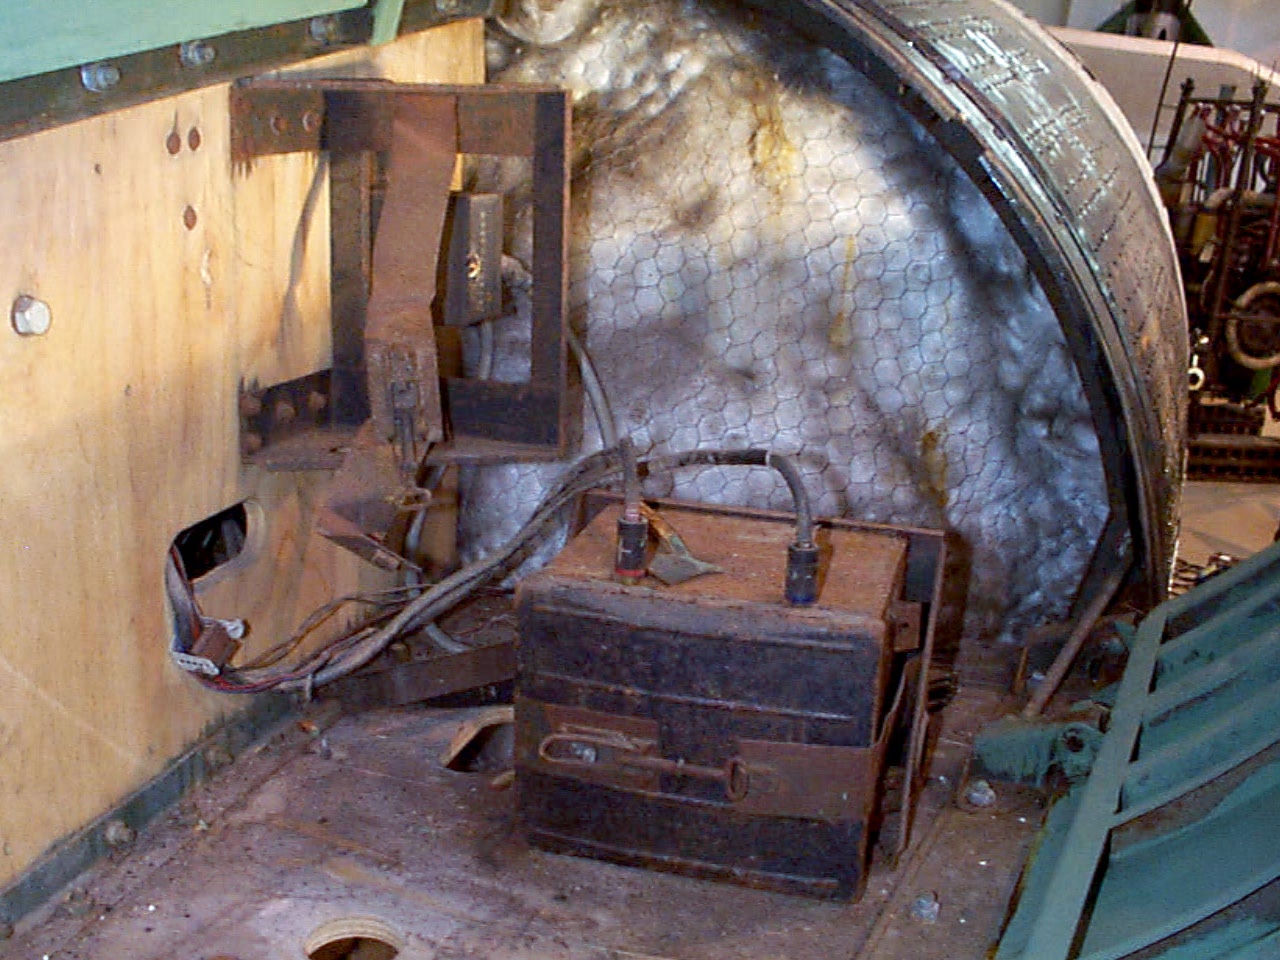
Control compartments 1. Image copyright Imperial War Museum
| Album | Equipment bays |
| Category | Electrical connection |
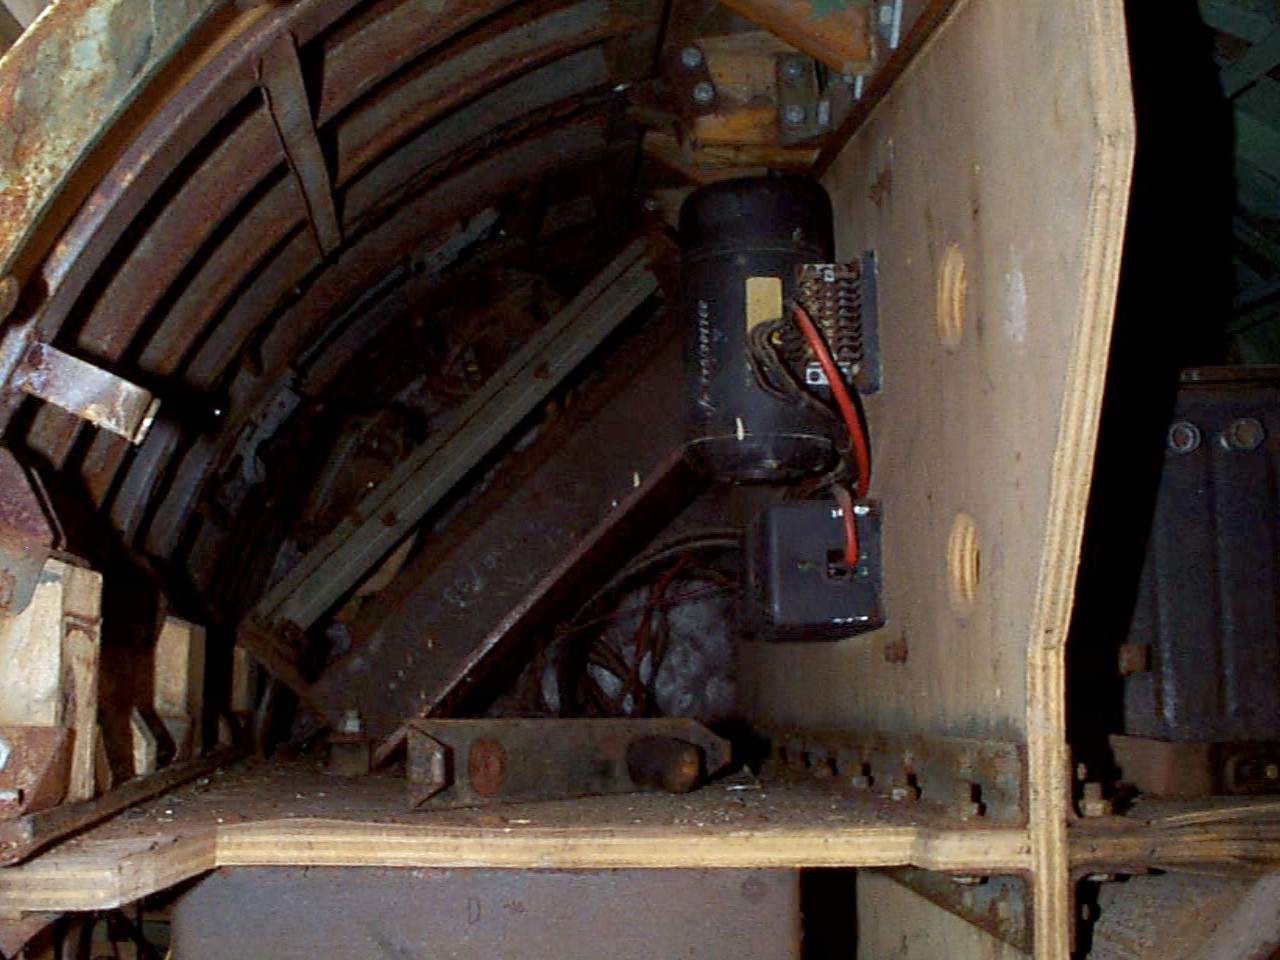
Control compartment 2 showing plywood separation panels, Oemig umformer (DC to 3 phase AC voltage generator), and voltage frequency control box. Towards the rear the ground connection plugs can just be seen and the mechanism of the cable release trap door (see cat flap!). Image copyright Imperial War Museum
| Album | Equipment bays |
| Category | Electrical connection |
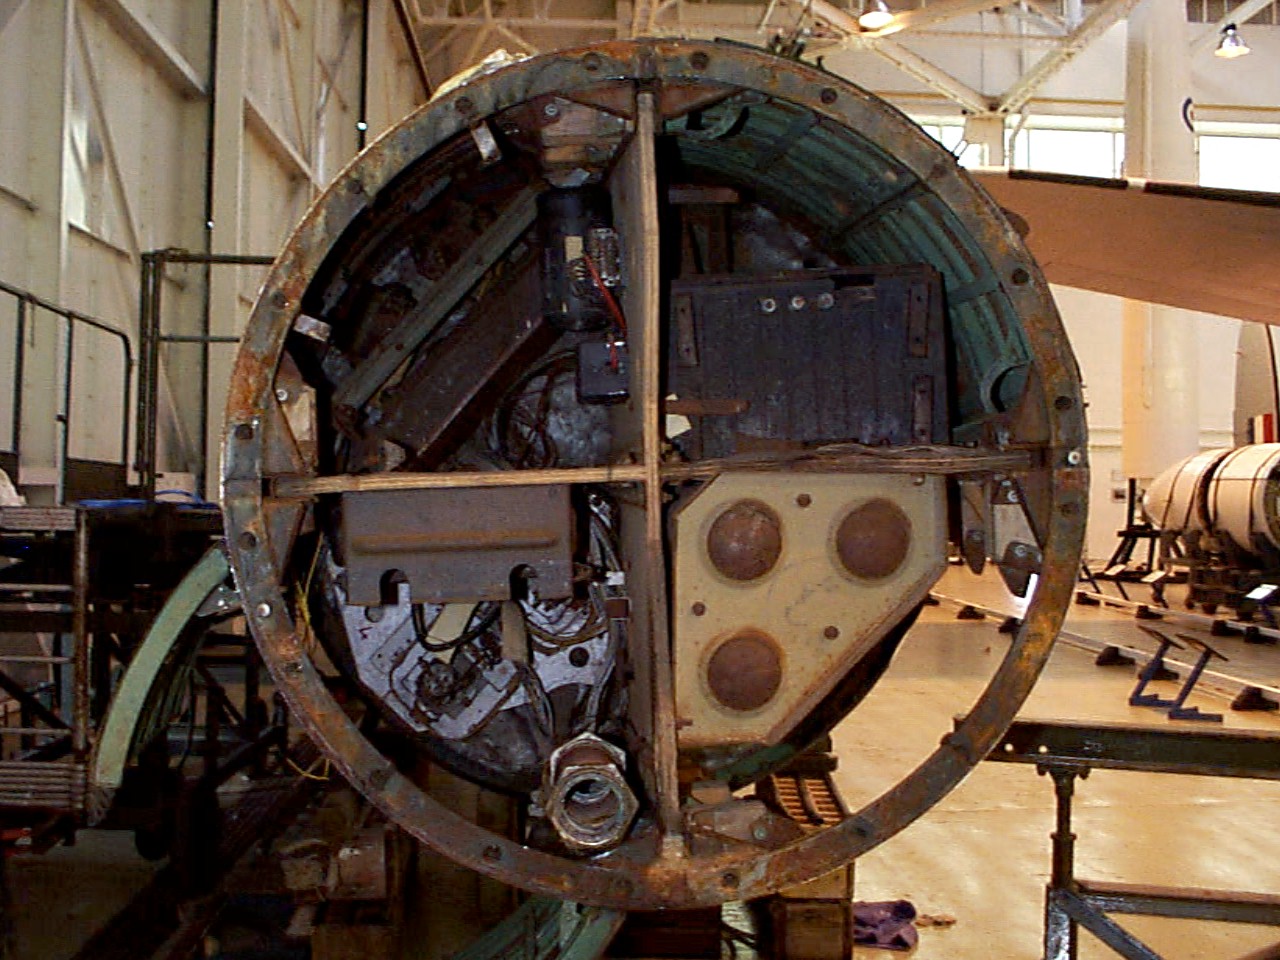
Control compartment 1 top right, 2 top left, 3 bottom left, and 4 bottom right. The fuel tank pressurisation pipe upper connection point is well shown at about 6 o’clock (compartment 3) and just above and to the right the upper plate of the air (N) tank rack (tan colour). Image copyright Imperial War Museum
showing plywood separation panels, Oemig umform
| Album | Equipment bays |

Missile guidance equipment
Images of guidance and missile control equiment
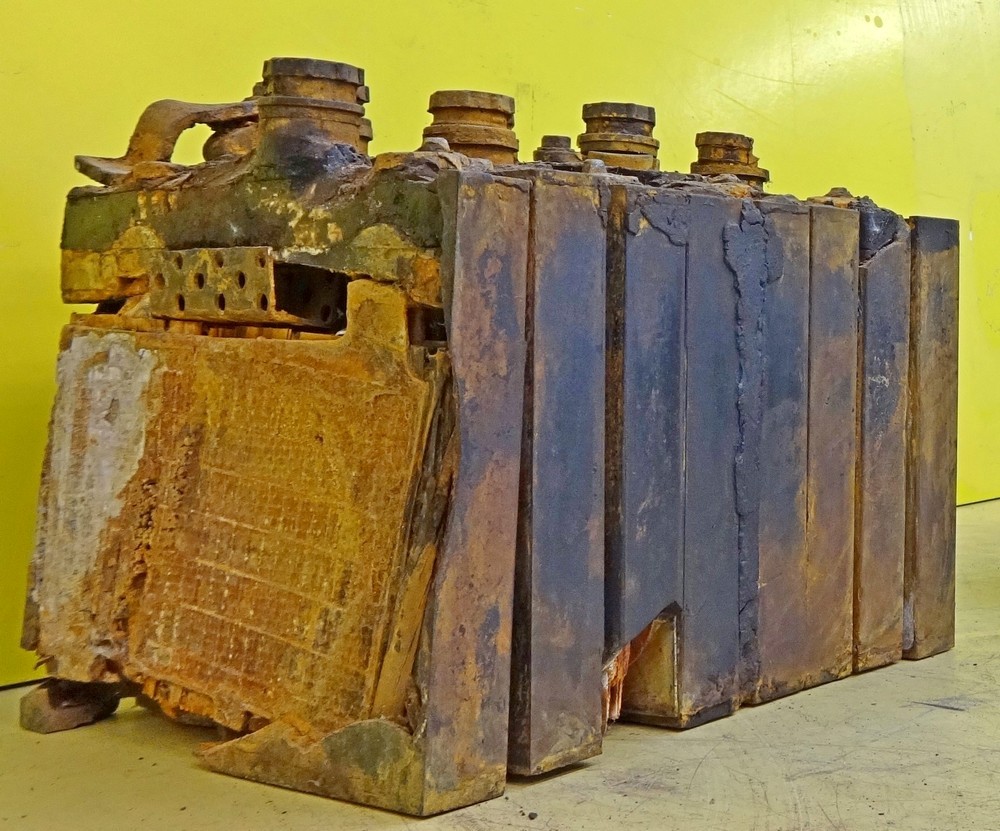
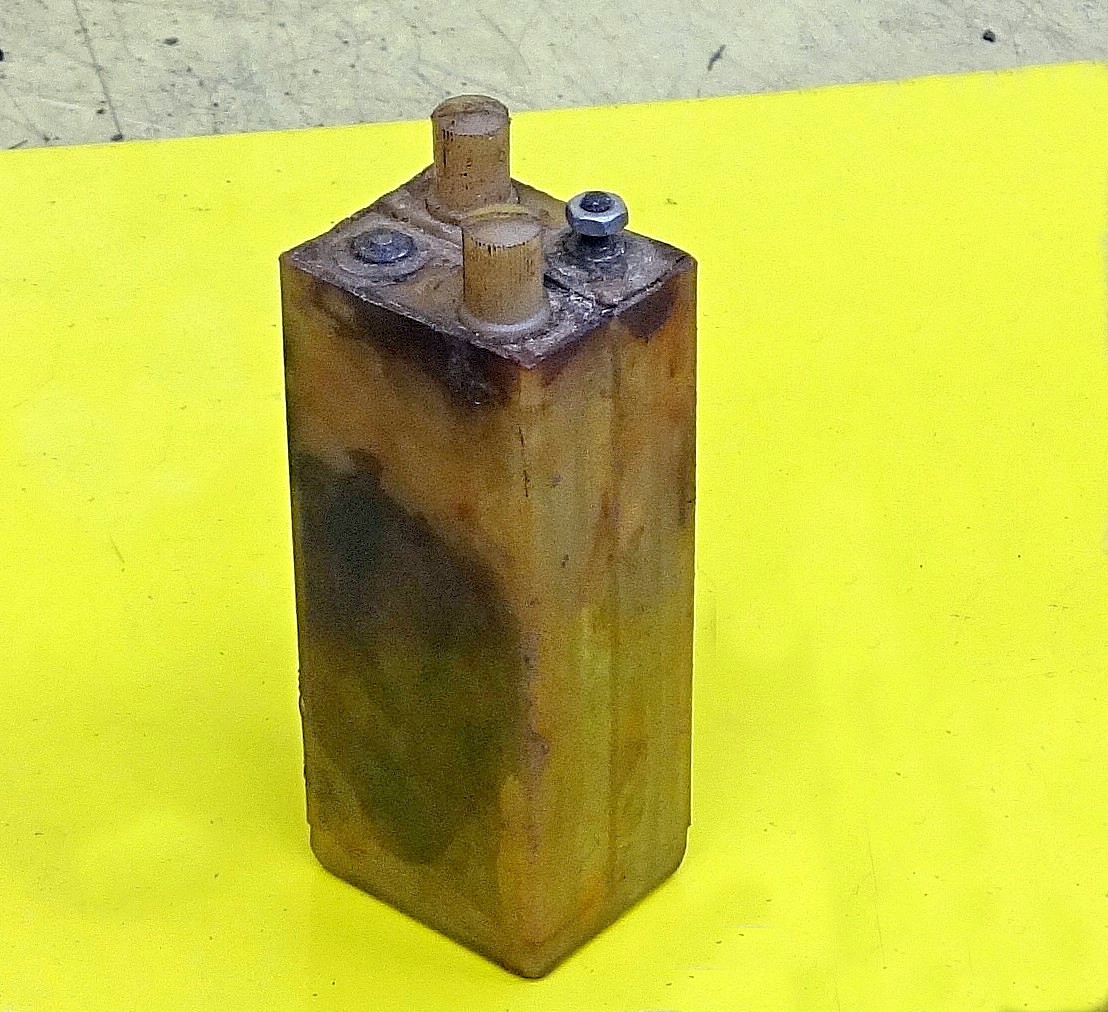


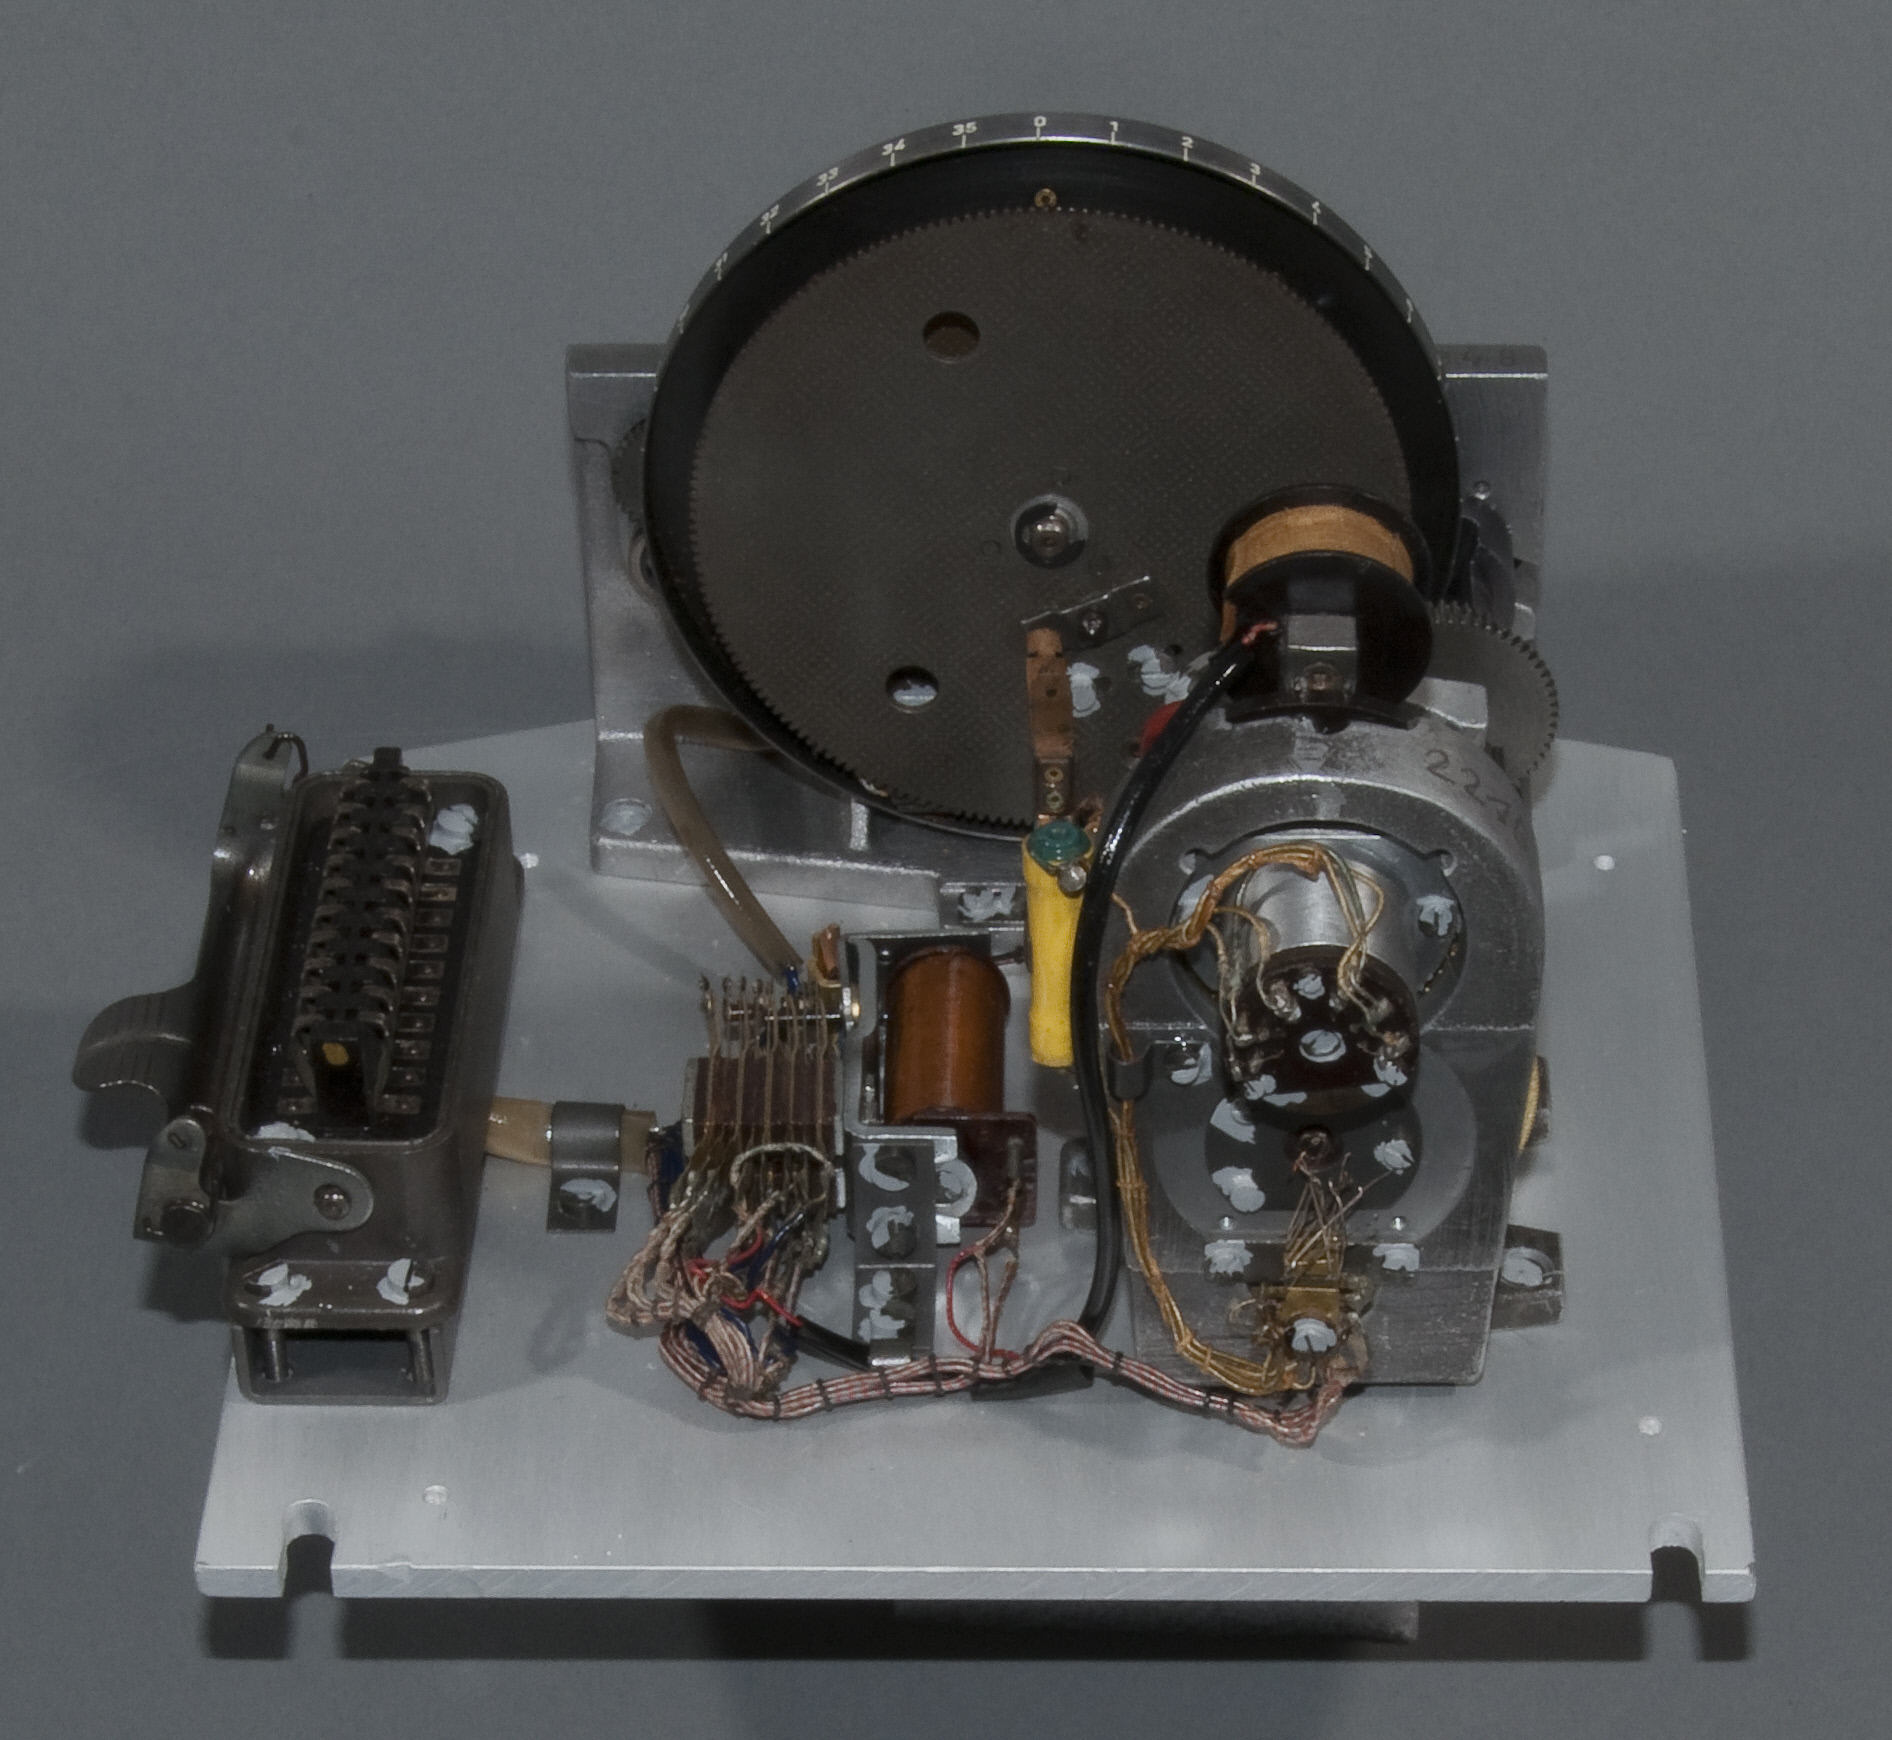

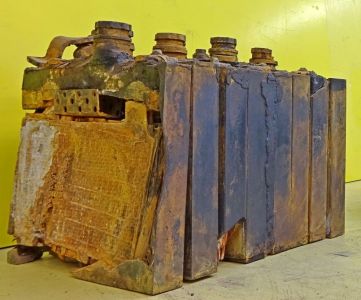
Images of guidance and missile control equiment




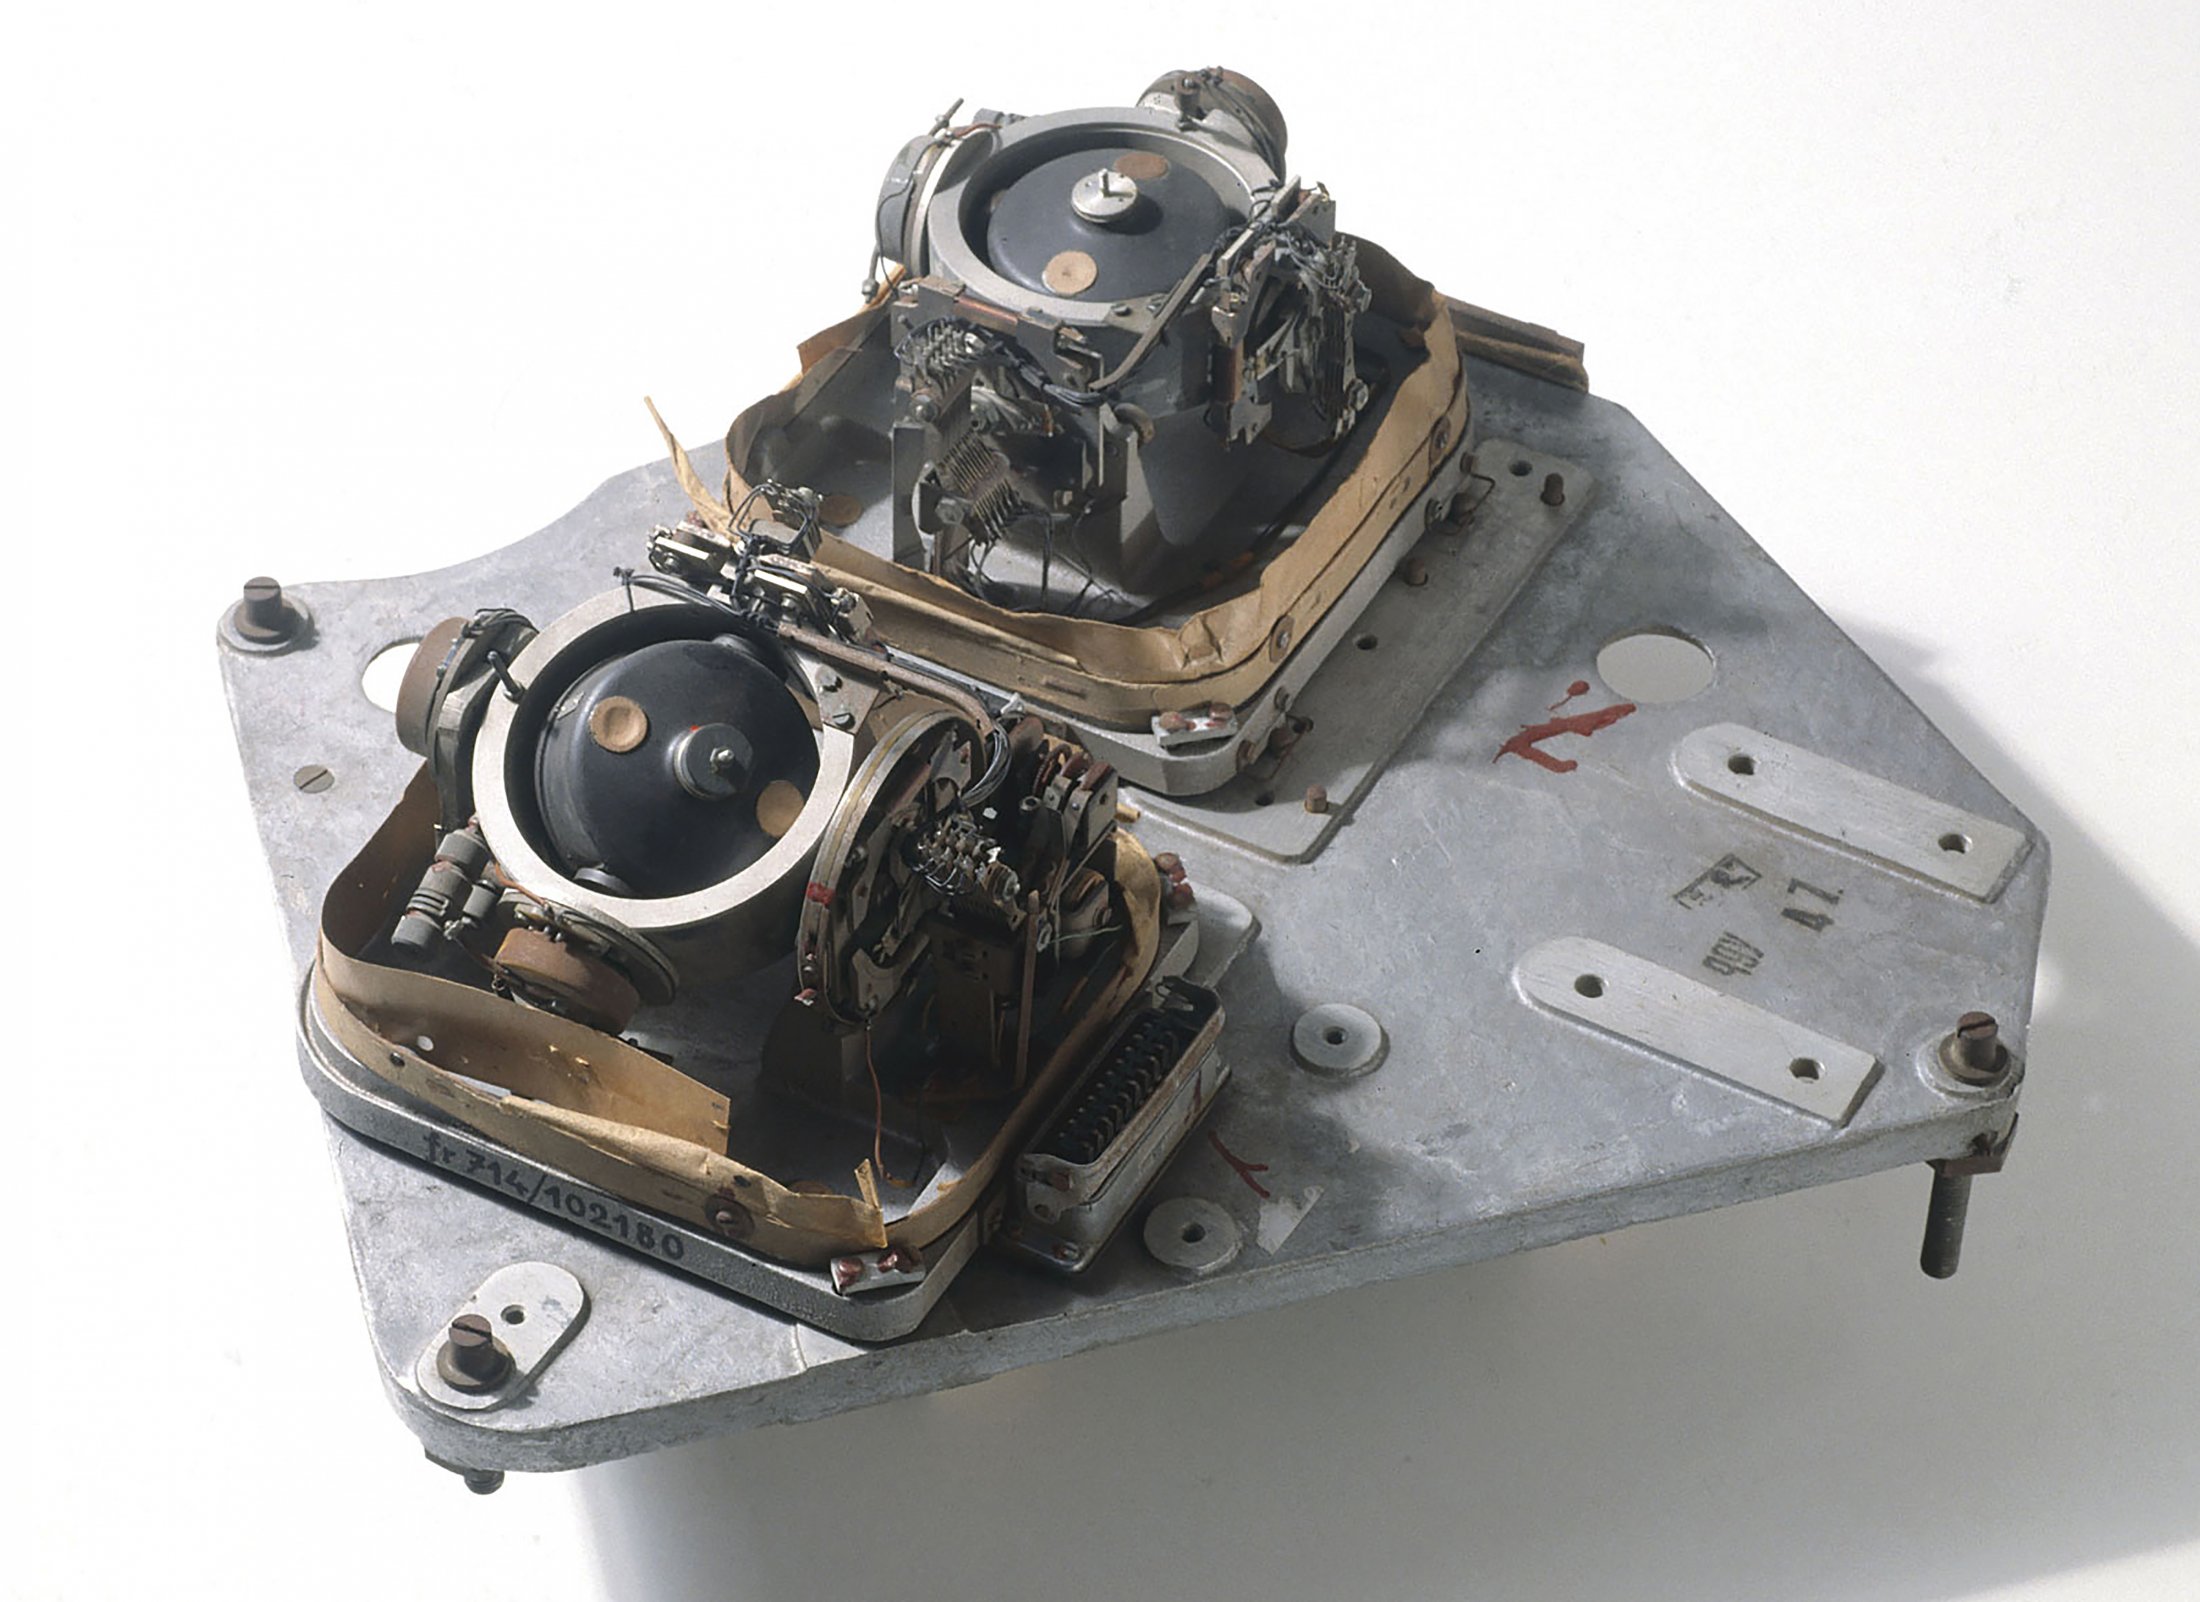
LEV-3 V2 missile gyroscope system with mounting plate. The third component of this system, the Muller gyroscopic accelerometer, is missing – the 2x mounting points can be seen on the right-hand side of the mounting plate.


